|
|
|

Building the Big Jungle Gym
The back panels are pretty
easy - especially if you
have Home Depot pre-cut the pieces for you!
I cut the large back panels
into two pieces for easy shipping...
Although you can just pretend that the seam is not there.
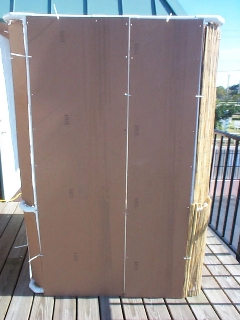
The full size of this
back panel (ignoring that seam) is 37" wide by 68" tall.
Drill from the shiny side to make holes approximately every 6" to 12",
(which are for cable ties to attach the panel to the cage frame.)
The corners are a little trickier, but not much:
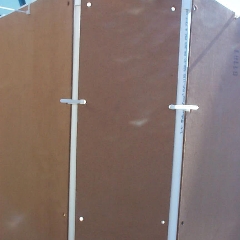
As you can see, the holes are drilled so that they line up with each other.
The narrow corner upper
panels are: 6 1/2" wide by 43" long.
The narrow corner lower panels are: 6 1/2" wide by 24" long.
You'll need three of each
for the whole cage.
That covers the rear corner and the two side corners.
If you look closely, you can see the in rear corner where the two pieces are joined.
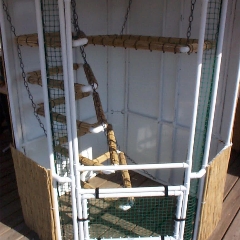
The best way I've found to join those two pieces is to notch them.
I use a template:
The dimensions of this template are:
6 1/2" wide, with
notches. To make the notches: mark 3/4" down from the top edges,
cut 1 1/2" in from the side edges, and cut back to the top edge with a
1/2" slope.
For the front two mesh
inserts... I've been taking 1" green plastic mesh (5 1/2" wide) and
lashing it to bamboo poles (68" tall) using jute twine and a locking stitch.
But this a lot of extra
work, when all you need to do is to
cut and notch more white melamine paneling or clear Lucite.
If you do, make these front panels slightly more narrow than the others: just
5 1/4" wide.
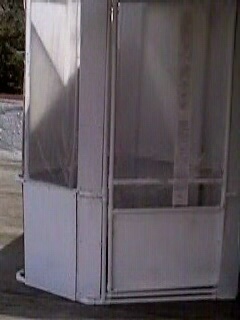
I just happen to think
that these mesh panels improve the interaction -
and quality of life - of the cage inhabitant.
Maybe you could just use them in the Summer...
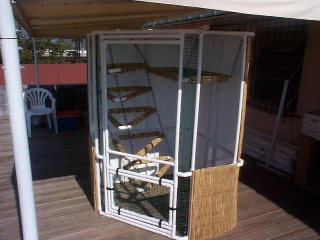
The only other melamine pieces you need now are for the lower sides under the windows.
Cut two panels 16"
by 24 3/4" and drill holes that line up with the holes in the lower corner
panels.
Remember to drill from the shiny side.
Now you can see why I
add the bamboo trim.
The outside of this melamine paneling is just plain brown.
Isn't this better?
.....
Now we've done the
frame, the
door, the
ceiling, and the back
panels.
Once we do the windows and the hanging shelves, we're done!
(Although, I do have a few ideas for the floor I'd like to share with you, too...
:)
I hope that these plans
are working out well for you.
I've worked very long and hard to figure out these dimensions and this design.
If you've ordered these plans from me. THANK YOU.
If you're using them and
haven't paid for them yet , it's not too late to do the right thing....
providing that you're happy with the plans, of course. ;)
It's a very small price to pay and it would be a great way to say "Thanks"
back. :)
In return, I'll email
you a complete Material List, which could help save you a lot of time --
less running back and forth to Home Depot and trying to figure out what to buy!
You can mail a check for
$19.95 to: Keith Van Zile
1125 Clare Avenue, West Palm Beach, FL 33401
or just use Paypal right away. You can even send a note with it!
Thanks!
Keith
or --> Take the cage tour--->>>
Copyright 2001 Lizardcages.com
All rights reserved.
